Non-Pasted Wallpaper Guide
In this Non-Pasted Wallpaper Guide, we have compiled all the necessary information to help you successfully prepare for and complete your wall makeover.
What is Non-Pasted Wallpaper?
Non-pasted wallpaper, also known as traditional wallpaper, is designed to be installed with paste, which is applied during the process. Unlike Peel and Stick wallpaper, it doesn’t come with adhesive already on the back, giving you more flexibility in positioning and creating a durable, long-lasting finish. In this guide, you’ll learn everything you need to know – from how to prepare walls for wallpaper, selecting paste, installation tips, finishing touches, and maintenance.
Whether you’re upgrading a single wall or an entire room, here you’ll find the best tips to make the makeover process clear and enjoyable.
Step-by-Step Guide
1. Making sure you have the right tools
First things first – gather your tools before you start. The tools for traditional wallpaper installation include: bucket, wallpaper paste, primer, level, sandpaper, smoothing brush, tape, paste brush, pencil, roller, utility knife, ruler, and sponge.
2. Preparing Your Walls
Next, you need to know how to prepare your walls for wallpaper application. Most importantly, the surface should be smooth and clean, and primed before applying wallpaper.
3. Applying the Wallpaper
The non-pasted wallpaper application process consists of 6 essential steps: wall measurement, turning off the electricity, applying adhesive, hanging the wallpaper, cutting it for wall sockets, and removing excess paste.
4. Maintenance & Cleaning
The best way to care for your wallpaper and ensure it looks its best is by using a damp cloth. Avoid using harsh chemicals – water should do the trick.
5. Removing the Wallpaper
The last video of the non-pasted wallpaper guide explains how to remove the wallpaper. Your wall will be ready for its next makeover with just a few steps.
Discover Wallpaper by Style, Pattern, Color & Room

Styles
Discover wallpaper styles that match any aesthetic — bold, retro, minimalist, or timeless.
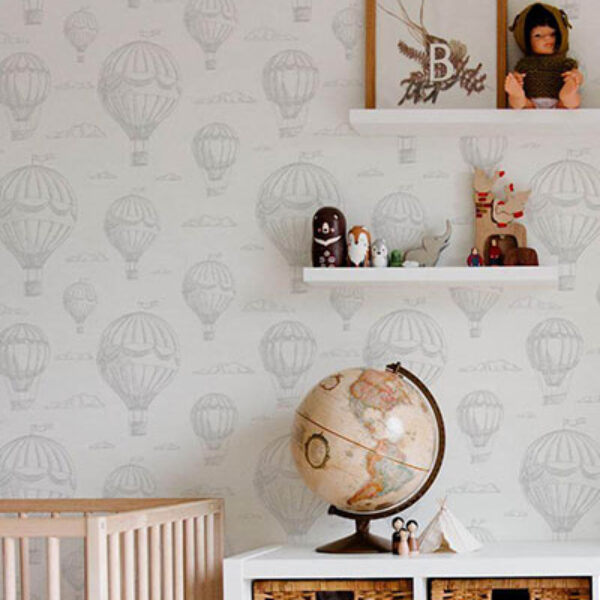
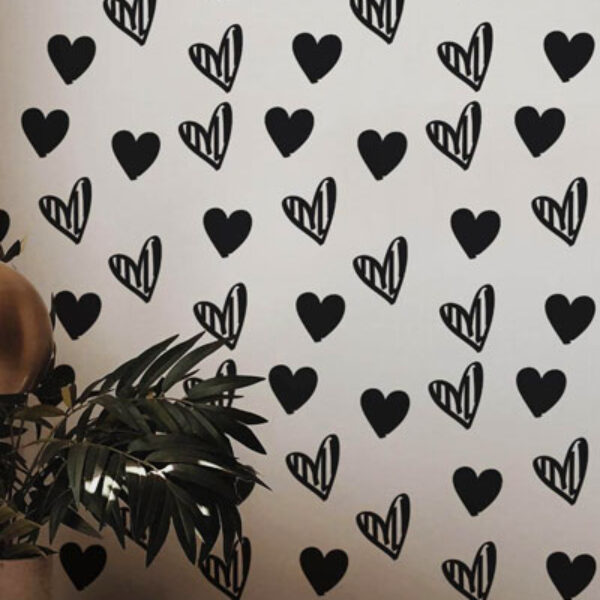
Patterns
Browse wallpaper patterns like florals, geometrics, checkered, and abstract to shape your space.
Colors
Explore wallpaper by color — from soft neutrals to bold tones and vibrant statement shades.
Rooms
Find wallpaper for any room or space — from bedrooms to cafés, nurseries, studios, and more.
Special
Discover wallpaper collections inspired by holidays, design trends, personal stories, and seasonal moments.
Non-Pasted Wallpaper FAQs
What is non-pasted wallpaper?
Non-pasted wallpaper, also known as traditional wallpaper, comes without adhesive on the back. You’ll need to apply wallpaper paste before hanging it, using the right tools for traditional wallpaper installation.
How is non-pasted wallpaper different from peel & stick wallpaper?
Peel and stick wallpaper is quick and easy to apply thanks to its adhesive backing, while non-pasted wallpaper requires paste and allows more flexibility during installation. With paste, you have more time to adjust panels for perfect alignment.
What kind of paste should I use?
We recommend Roman PRO-880 Ultra Clear® (for US customers), Henkel Metylan Direct® (for EU customers), or similar adhesives.
Can I install non-pasted wallpaper myself?
Yes, it can be a DIY project if you’re comfortable with measuring, cutting, and using the tools for traditional wallpaper installation. For large-scale projects, you may want to hire a professional.
Is non-pasted wallpaper removable?
When installed using a strippable adhesive (for example, Roman PRO-880 Ultra Clear®), non-woven wallpaper can easily be removed without damaging walls.
What kind of surfaces are suitable for non-pasted wallpaper application?
Non-pasted wallpaper is best suited for smooth, clean, and primed walls, so try to avoid textured or damp surfaces. Proper wall prep is essential – see our guide on how to prepare walls for wallpaper before you begin.
How do I prepare my walls before applying non-pasted wallpaper?
Clean, dry, and smooth walls are essential for a long-lasting finish. Patch holes, sand uneven areas, and prime the wall before applying wallpaper paste and hanging your wallpaper.
How to take care of my non-pasted wallpaper?
Our non-pasted wallpaper can be gently cleaned with a damp cloth. Avoid harsh scrubbing and follow care instructions on your product – that’s the best way to care for your wallpaper.
Not what you were looking for? See all FAQs