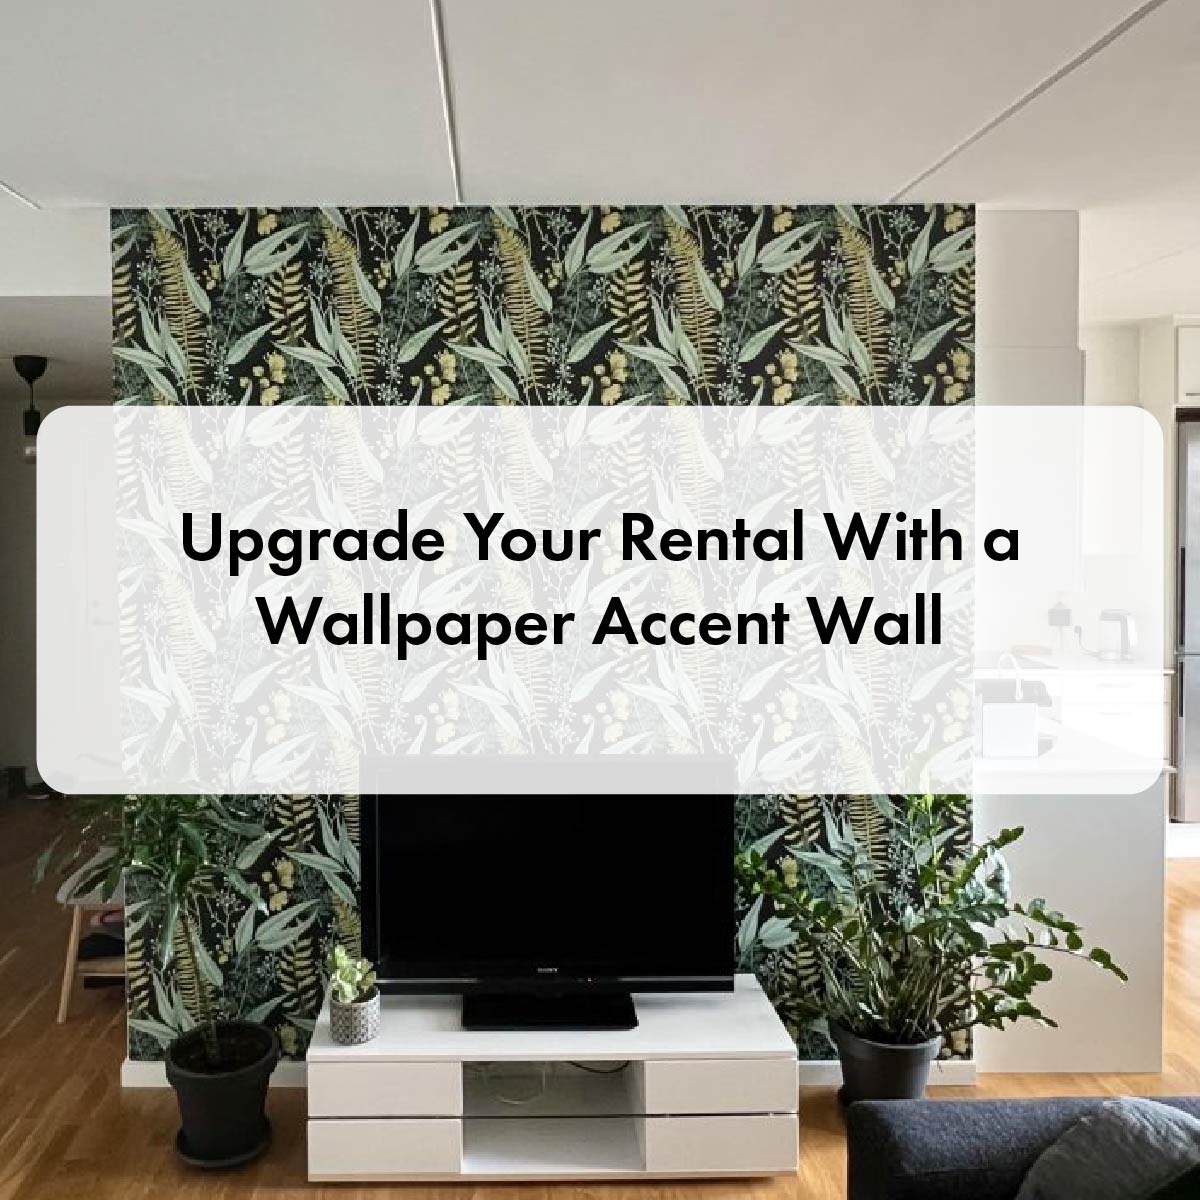
Upgrade Your Rental With a Wallpaper Accent Wall
Most of us have experienced living in a rental property at some point in our lives. You might have been renting a place for years, or perhaps you just signed a contract and are preparing to move in. While there are many advantages of living in a rental, there’s one common question that most renters tend to ask – how to upgrade a rental apartment and make it feel like home?
There can be certain limitations on how much you can change within the space, and it very much depends on the landlord or the company you’re renting from. Some rentals are already furnished and decorated, which leaves very little room for adding a personal touch to the interior. While some landlords could be open to you upgrading their property, big changes are typically not allowed. If they allow it, you will probably have to leave the space the exact way you found it when moving out.
Make that rental property feel like home
So the question still remains – how do you make someone else’s space feel like your own, and do it without making permanent changes and investing a ton of money? There isn’t one specific answer to that question, but peel and stick wallpaper is definitely a great option. Since I’ve recently upgraded my rental apartment myself with a beautiful wallpaper accent wall, I’m going to tell you all about it!
I’ve lived in my rental apartment for four years now, making some minor upgrades along the way. Due to the large deposit I had to pay when moving in, I thought it was best to keep the walls clean and avoided painting them and drilling unnecessary holes. Even though white walls can be very practical and they’ve allowed me to switch up furniture and decor, I felt like it was time to finally add some color to my space. Painting seemed too messy and time-consuming, so I started looking into other solutions and came across peel and stick wallpaper. I got really excited about the idea that I can install it myself and remove it in one piece when I have to move out, without damaging the walls. And that’s how my living room wallpaper accent wall story started!
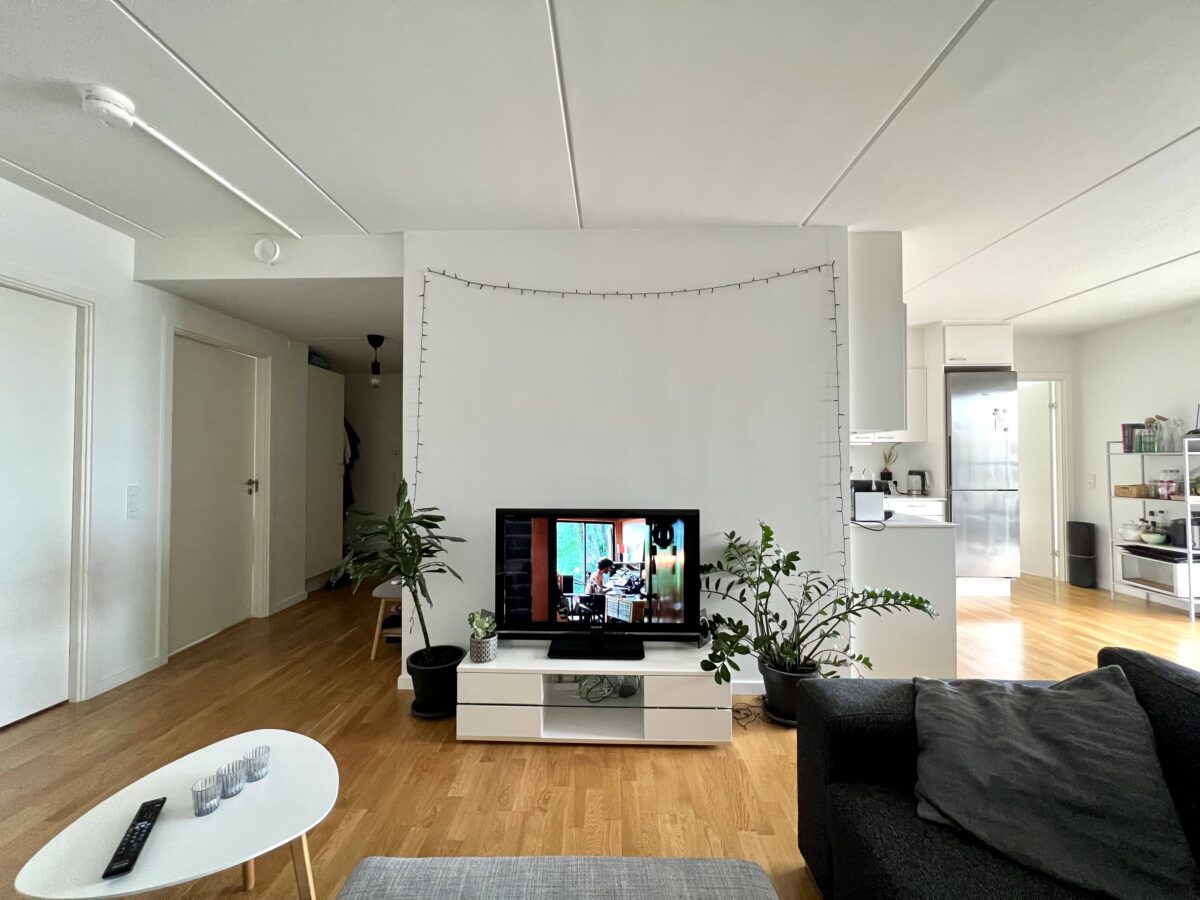
Choosing the wall and the pattern
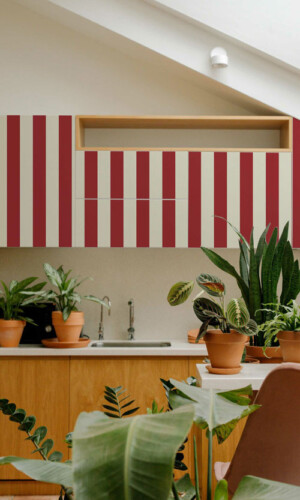
Following the suggestions of interior designers and trusting my own taste, I chose the focal point of my living room for the accent wall feature. However, I wasn’t completely sure about the wallpaper pattern at first. Having so many options can be a bit overwhelming, so I narrowed it down to a few colors and patterns to choose from instead of going through all the designs.
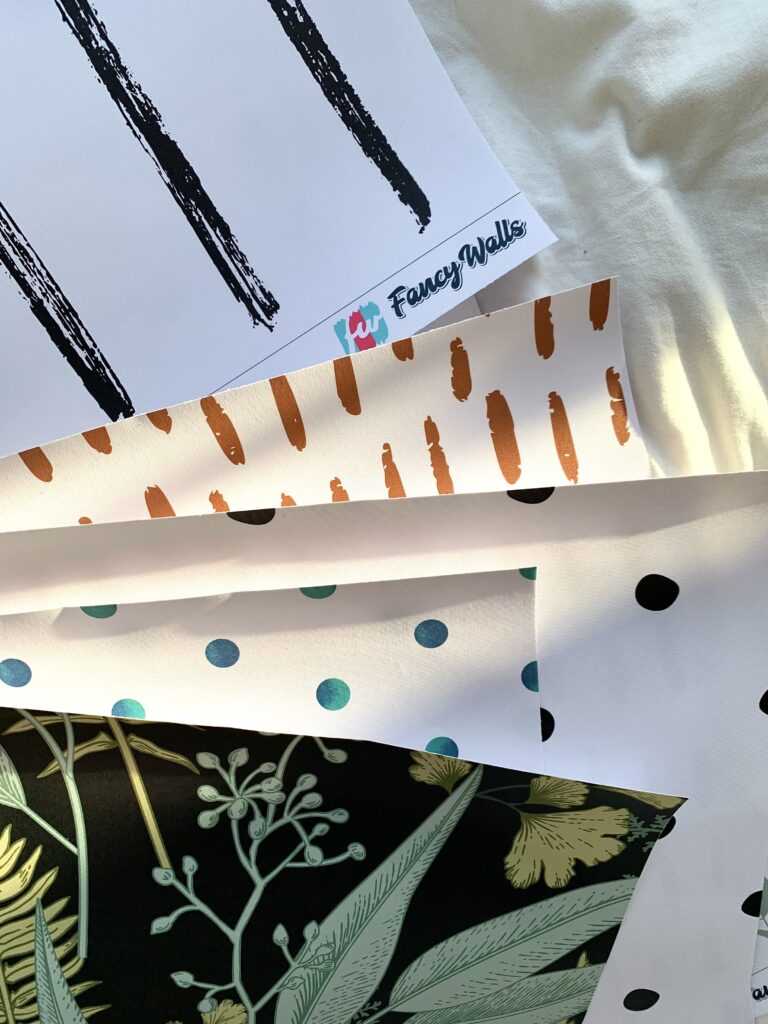
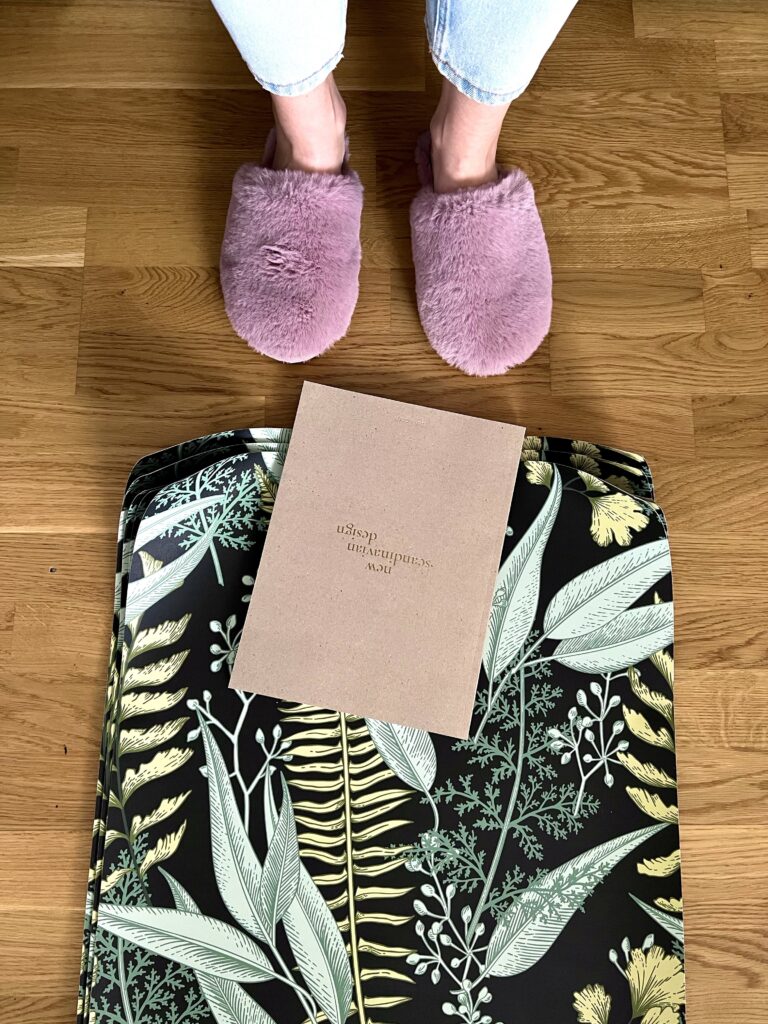
Before making the final purchase, I wanted to make sure that it looks as good in real life as it does online, so I ordered a bunch of samples. They arrived within 2 days and I felt like a kid unpacking their Christmas present when I was opening the package.
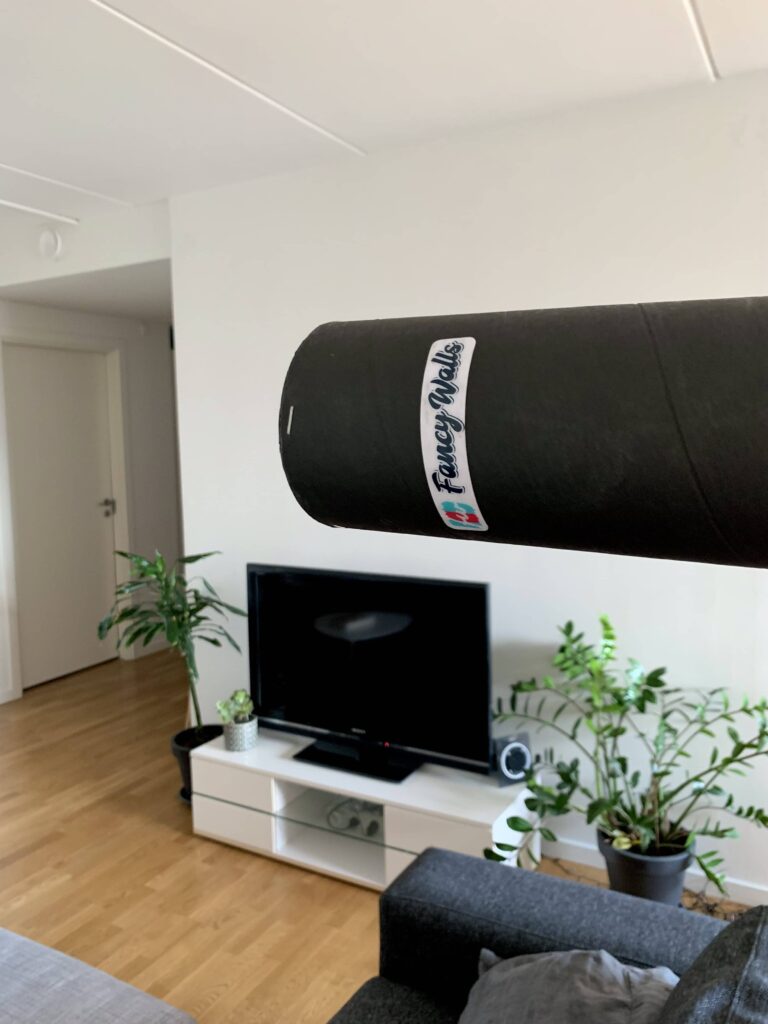
I liked all the samples I received, but my love for plants and everything green instantly made me fall for the green and black fern leaf wallpaper. My order arrived 2 days later and I was ready to start peeling and sticking my new accent wall wallpaper!
Tools
You don’t need a huge toolbox to install peel and stick wallpaper. There are just a couple of tools that you probably already have at home:
- level
- utility knife
- tape measure
- scissors
- squeegee or plastic ruler
I didn’t have a level, so I downloaded a bubble level app on my phone which worked just fine. My (very limited) toolbox was also missing a squeegee, so I used my gym membership card instead. If you’re using an alternative to a squeegee, make sure it doesn’t have any sharp edges and doesn’t scratch the wallpaper.
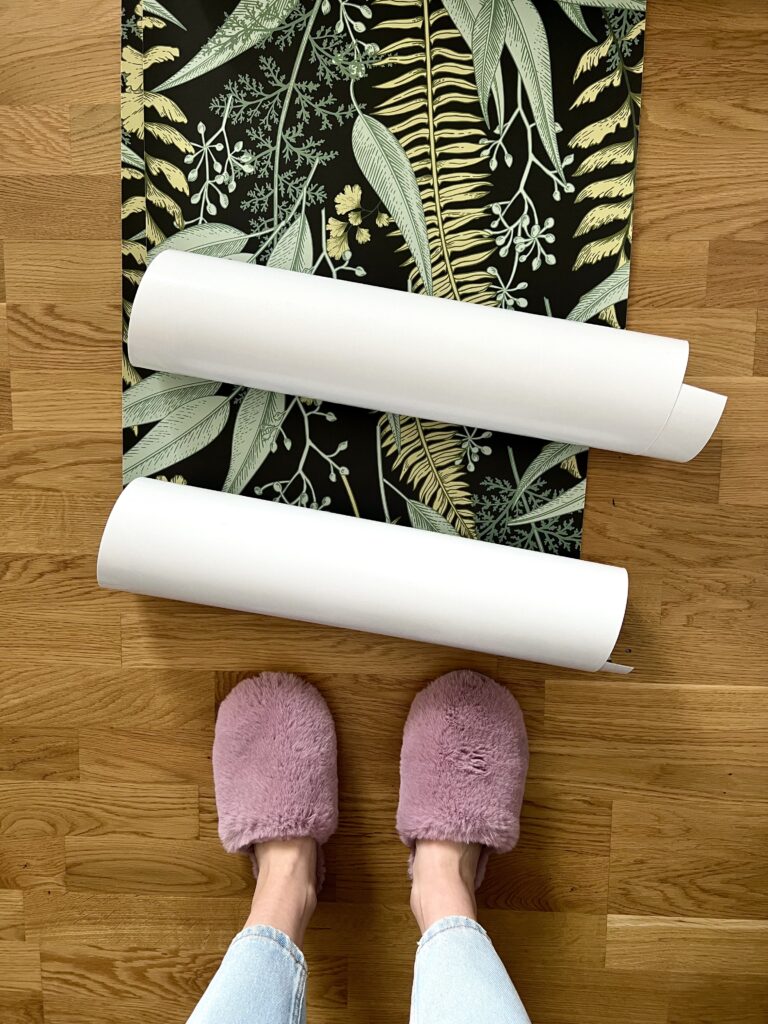
Preparation
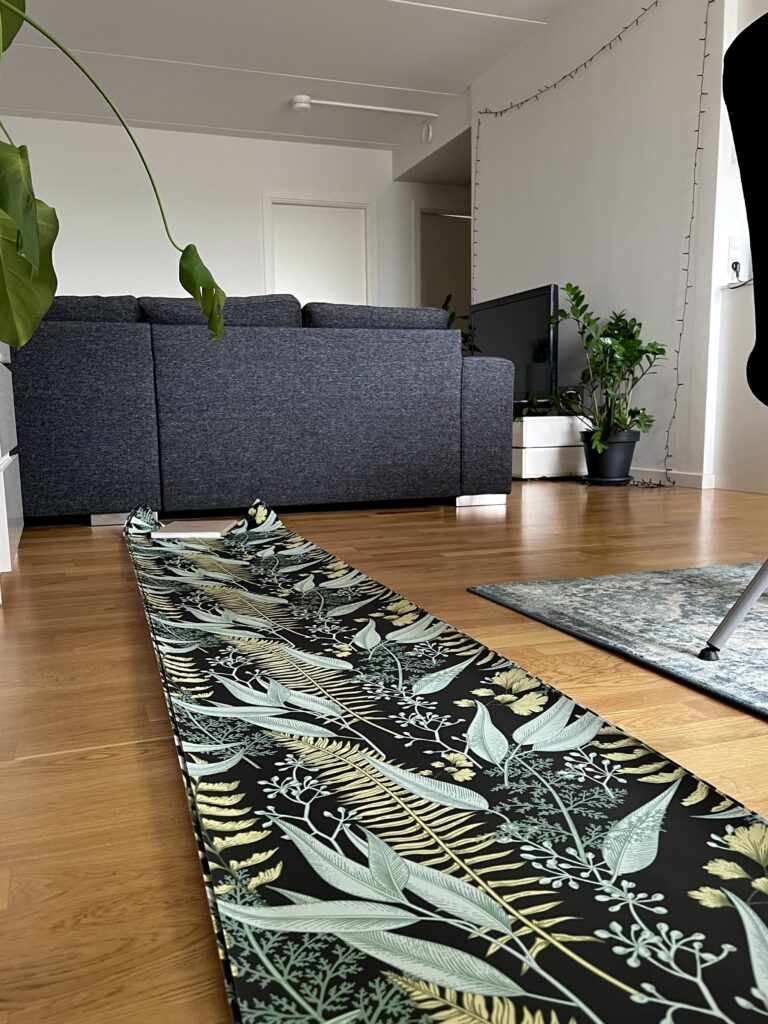
When your tools are ready, the next step is to lay the wallpaper panels on the floor and let them straighten out for at least an hour. That way, they won’t roll up when you are trying to stick them onto your wall. You can put books or magazines on each end of the panel to keep it straight.
While the wallpaper rolls were straightening out, I removed my furniture and plants from the wall and dusted it off with a damp cloth. Remember – your wall must be completely dry before you start applying your wallpaper!
Let the fun begin!
Now we’re moving on to the most exciting part. Peel and stick wallpaper is perfectly suitable for DIY projects and I could’ve definitely done it by myself. But to make it more fun, I asked my friends to join in on this little adventure.
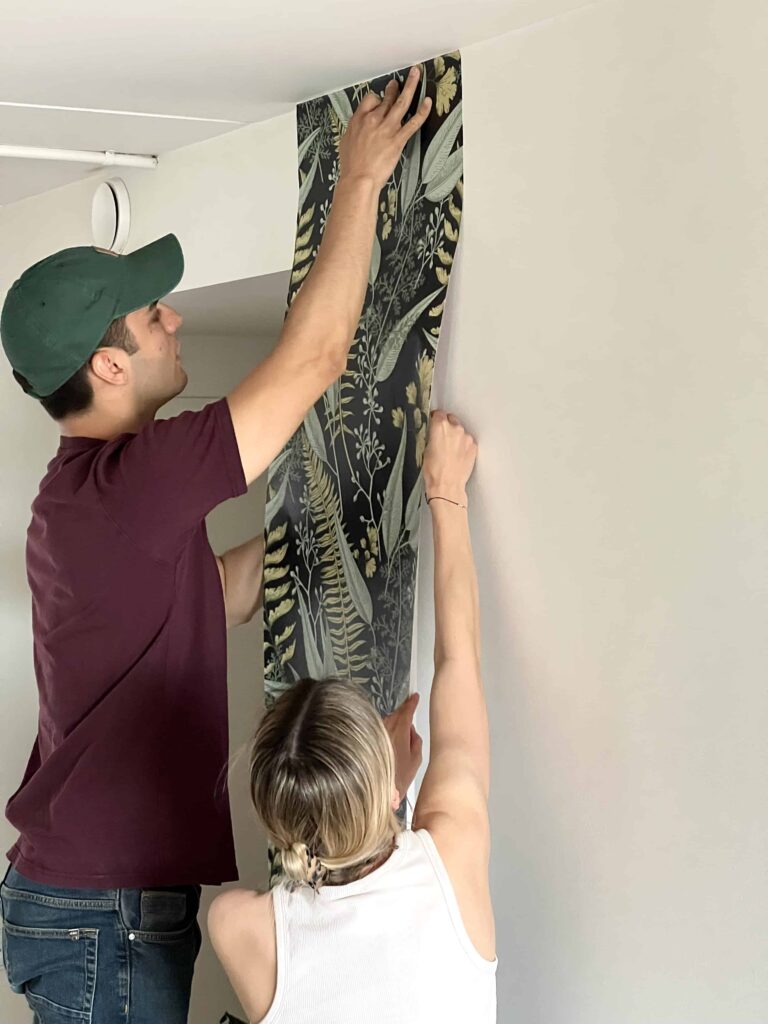
First thing’s first – finding a level spot. Some of the walls in my apartment aren’t very straight, so it was a bit of a surprise to discover that this one was spot on (which made it easier for us to apply the first panel). Following the instructions, we started by peeling the backing paper about 20 cm (10 inches) from the top. We took advantage of the fact that we had more than 2 hands available, so one of us was sticking the wallpaper panel onto the wall and smoothing out air bubbles, while the other one was slowly removing the backing paper.
We encountered a little overlap when applying the second panel. I’m not sure if it was a crooked wall after all or just us not being precise enough. It still looked okay, but the overlap was quite visible, so we removed the panel and repositioned it. Luckily, you can reposition peel and stick wallpaper up to 24 hours after applying it. If you find yourself removing the panel from the wall, make sure you don’t overstretch the material and remove it parallel to the wall.
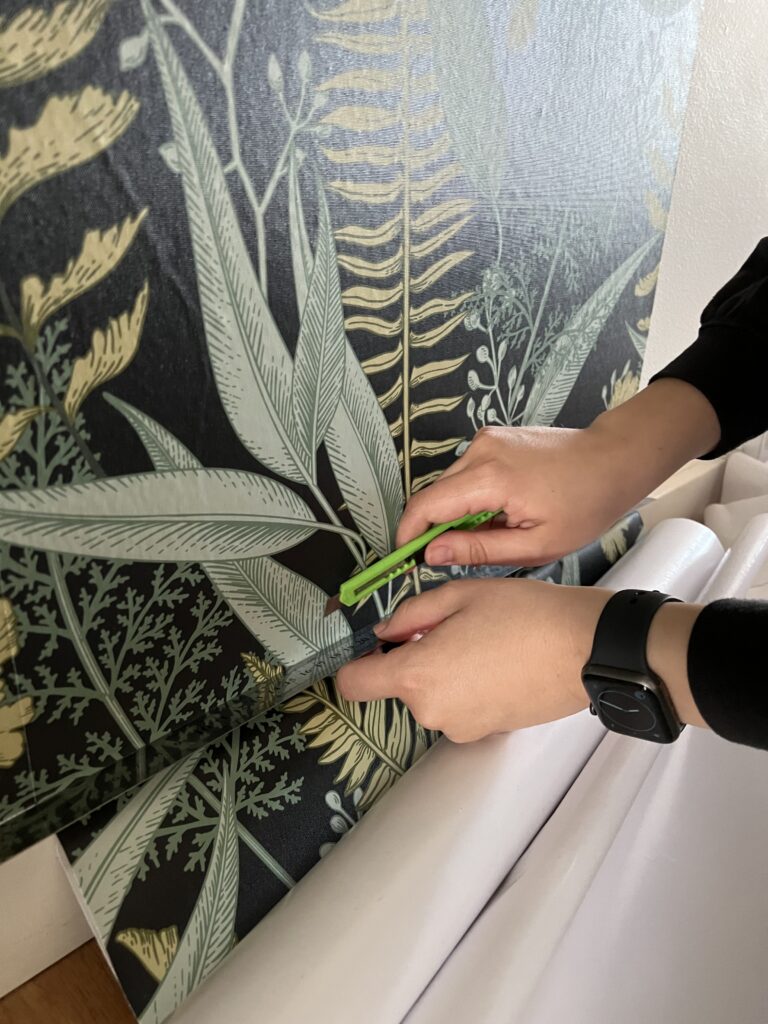
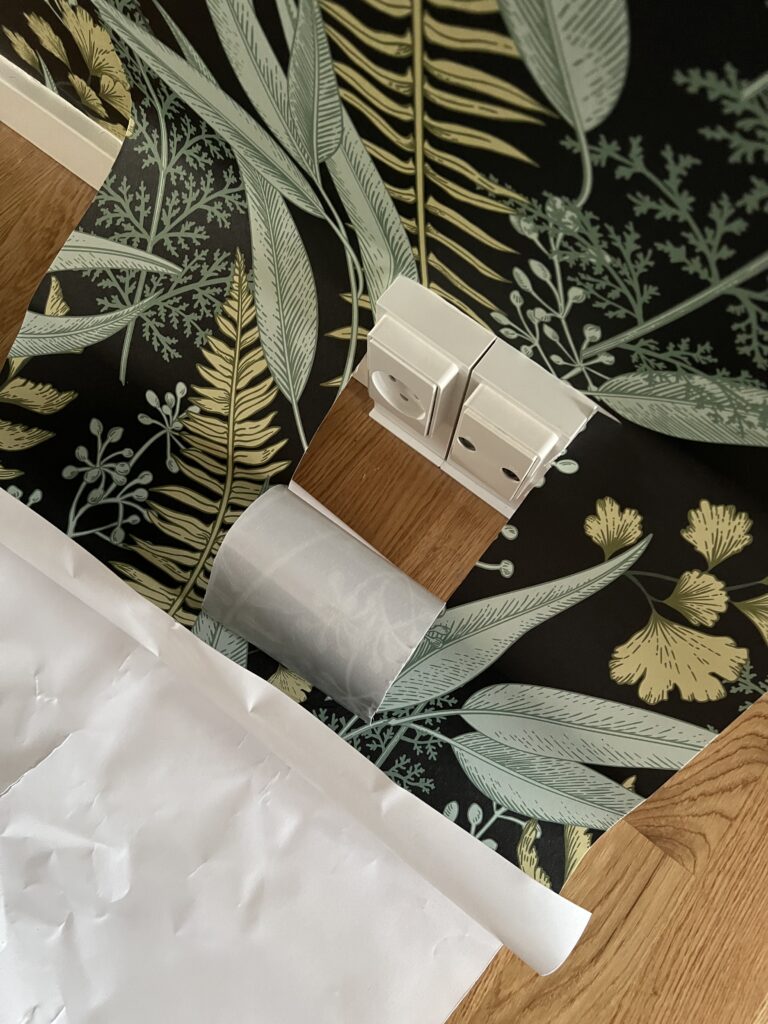
The rest of the panels went up smoothly and didn’t require a lot of repositioning. After applying each panel, we used a utility knife to cut off the excess material. The instruction suggested removing electrical sockets for the best result, but mine couldn’t be removed (or perhaps I didn’t try hard enough). We ended up cutting the wallpaper around it as we were sticking it onto the wall.
I would definitely suggest removing the sockets if possible because it was a bit tricky cutting around them. There’s a little tear on the right side, but since the socket is right behind my TV stand, it doesn’t matter that much.
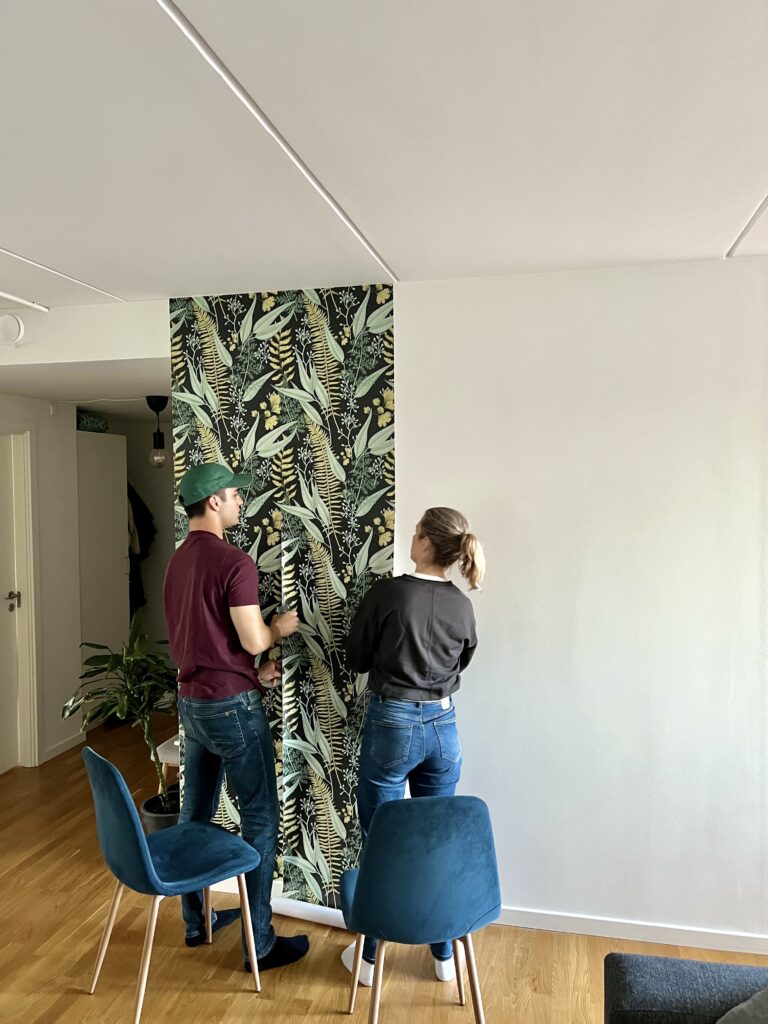
The end result
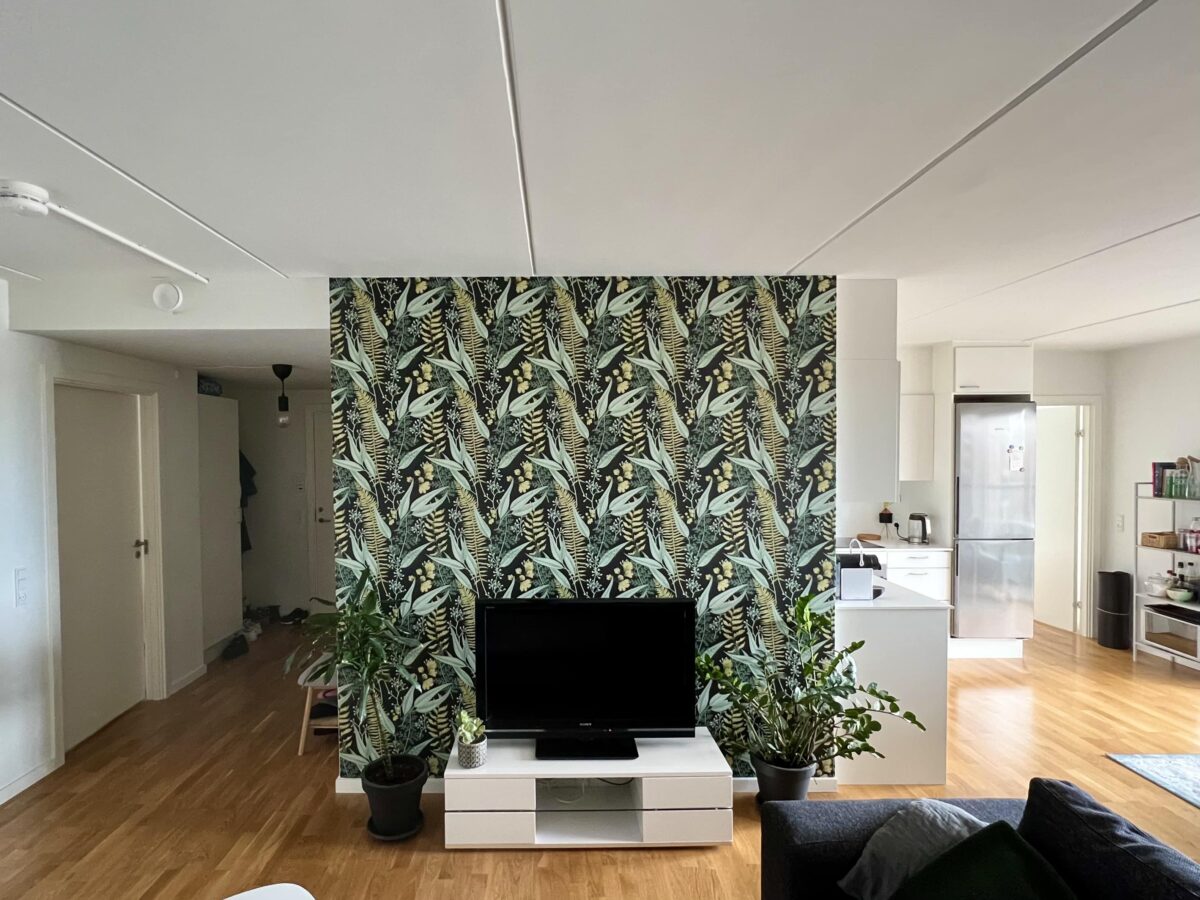
Voilá! The wallpaper is up, the air bubbles are smoothed out and my living room has a completely different vibe now. I think it turned out amazing and I’m really happy with the end result. White walls are nice, but colorful walls are way cooler! For the first 30 times (or maybe even more, who knows) I walked through my living room, I just stopped and stared at the wall. Before this makeover, I was a little worried that I might get tired of a bold pattern. However, I can safely say that it’s been 2 months since I created my wallpaper accent wall and I probably enjoy it even more now!
Every home should feel like your own – and rentals are no exception. There are plenty of ways to make your rental space feel more cozy and personal, and I think rental-friendly wallpaper is my favorite. It’s a relatively small change but makes such a big difference. But it’s not just about the aesthetics. I don’t have to worry about damaging something during the installation or removal process, and if one day I wake up and feel like I want my white wall back – I can easily make that happen!
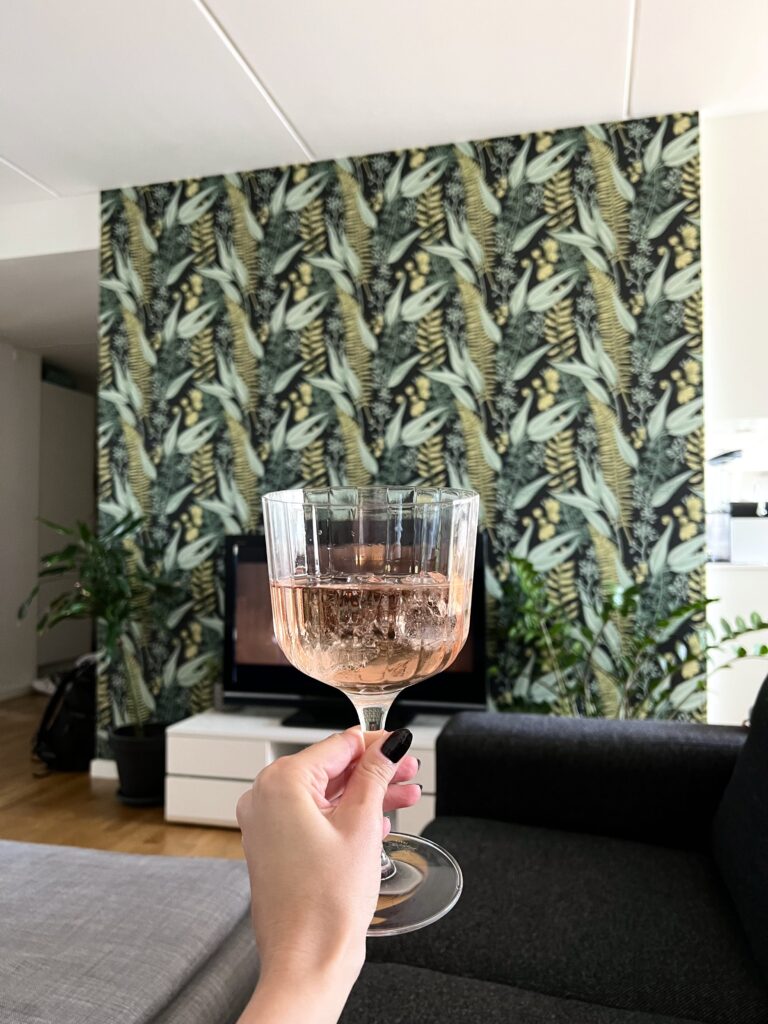
I hope this inspires you to add a personal touch to your rental and make it feel cozier with a wallpaper accent wall! Cheers!