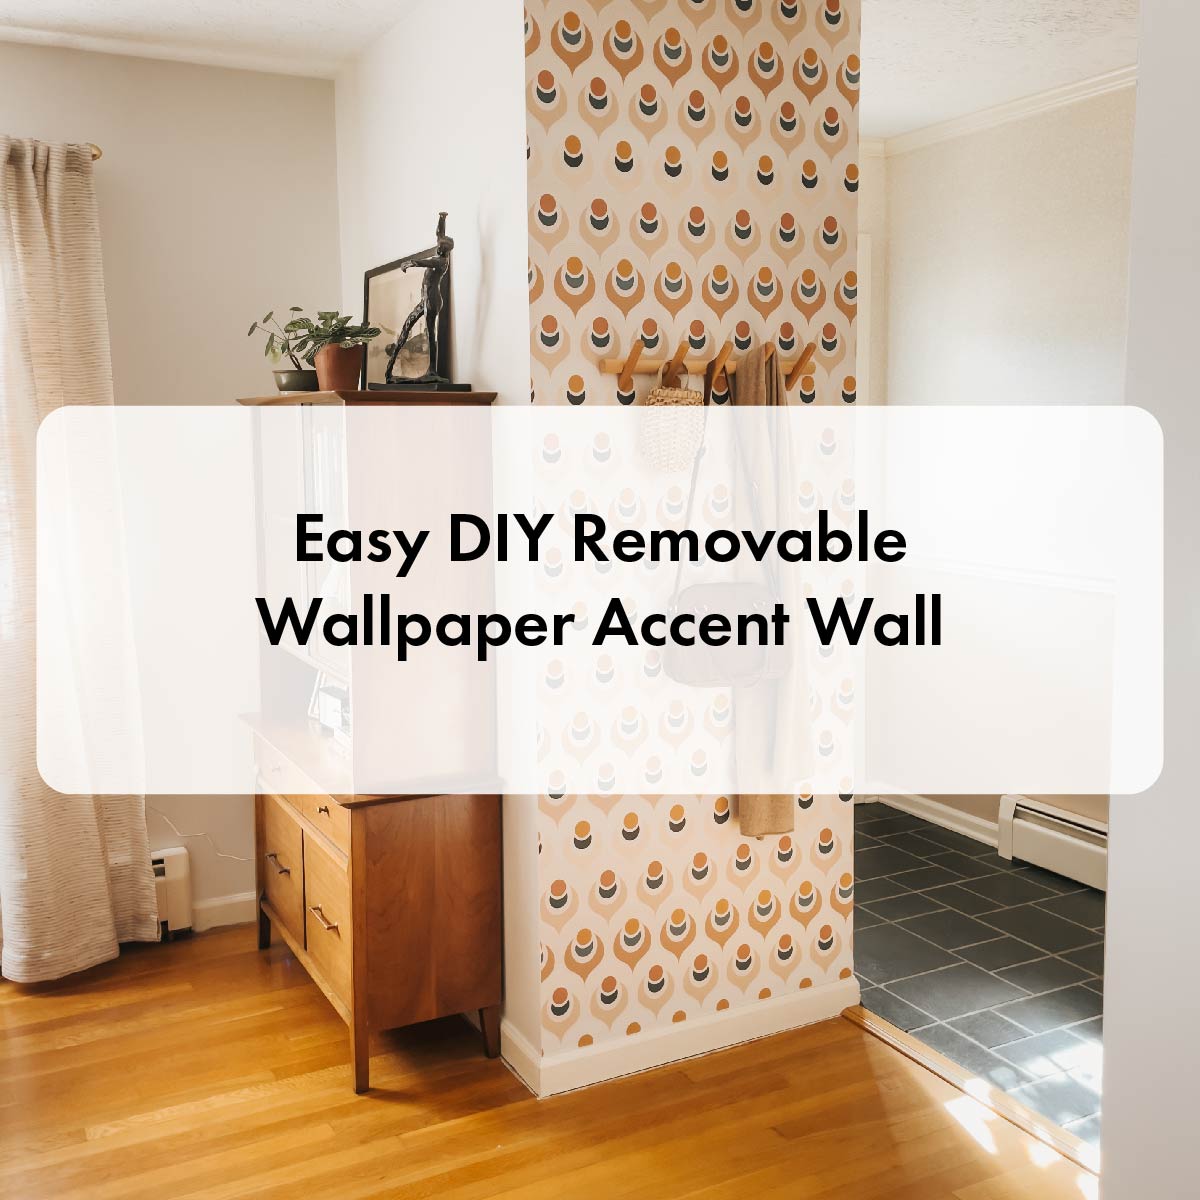
Easy DIY removable wallpaper accent wall
Every now and then, we all feel the urge to switch something up and add a breeze of fresh air into our interiors. When it comes to transforming the look and feel of a room, it’s hard to think of something more effective than an accent wall. A well-thought-through accent wall adds depth and personality to the space, and sometimes, it turns out to be the cherry on top that was missing all along.
What is an accent wall anyway?
An accent wall differs from the rest of the walls in the room in some way – it’s either painted in a different color, covered with patterned wallpaper or is perhaps decorated with an eye-catching piece of furniture or artwork. You’ll know an accent wall when you see one!
Renting a place? Don’t worry!
It’s worth mentioning that this type of project is perfect for rental spaces too! Just because you live in a rental doesn’t mean you have to settle for something that doesn’t spark joy for you, right? Ideally, with permission from your landlord and a tad of your creativity, you can make your temporary home feel cozier and more like you. We love creative DIY projects that don’t leave you with a lot of mess, and a removable wallpaper accent wall is just that! Whether you’re a first-time DIYer or a professional, you’ll have a great time doing this project!
Where to start?
Choose the wall
Choose a wall you want to upgrade or make the room’s focal point. It’s often the wall or area that first catches your eye when you enter the room. Commonly, the focal point faces the main entrance of the room. Even though every wall can be turned into an accent wall, try to avoid asymmetrical walls or walls with many windows or large furniture covering them.
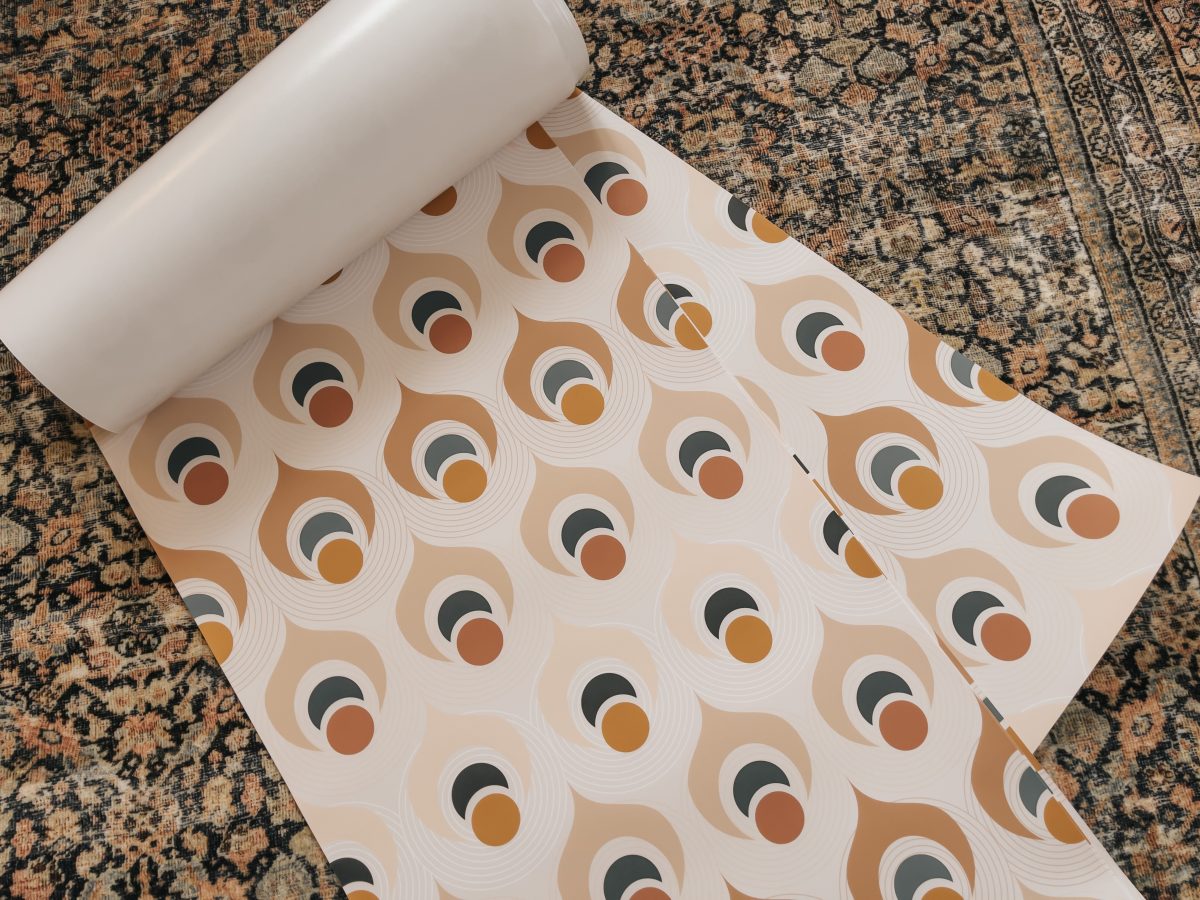
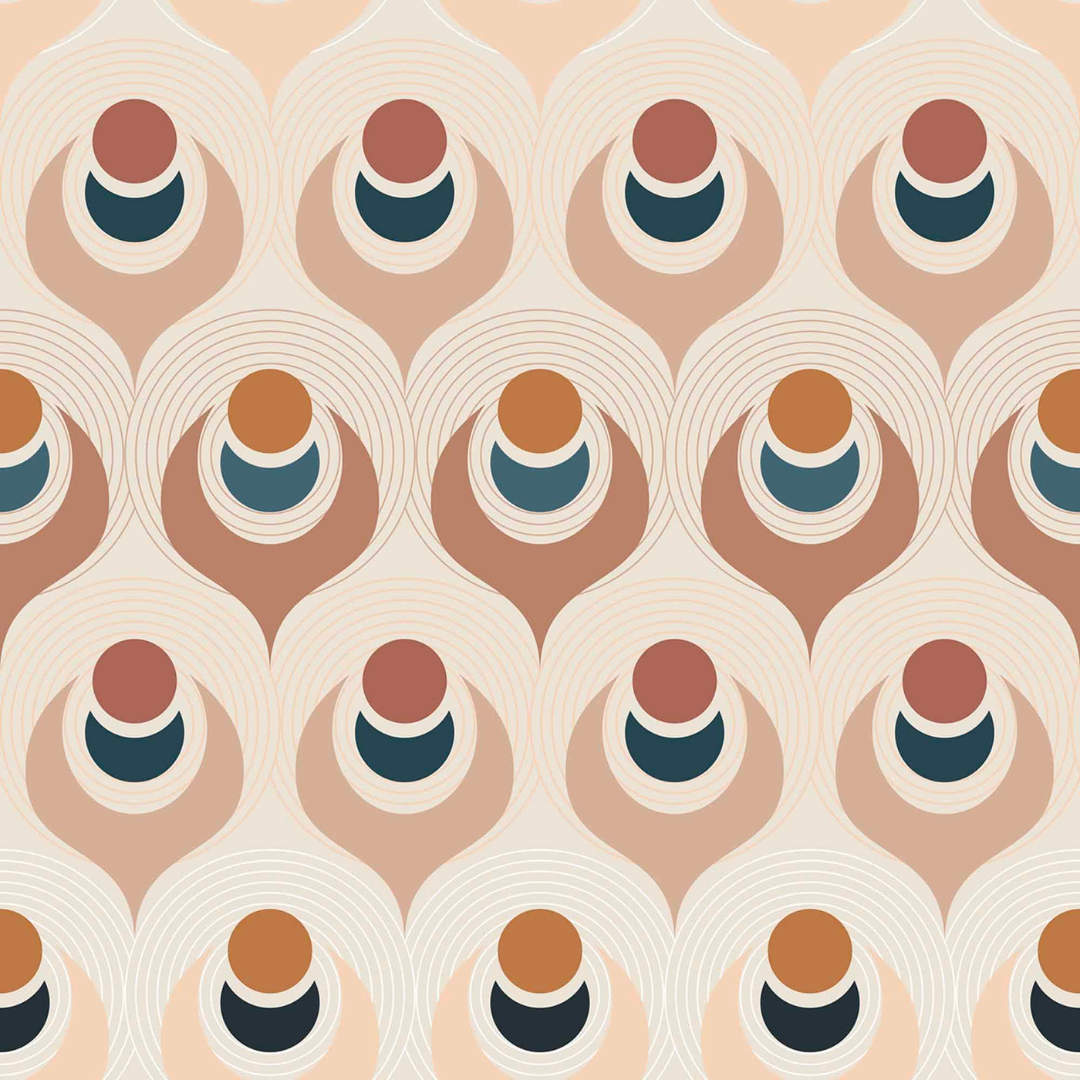
Pick out a wallpaper
Here comes the most fun part! Picking out a wallpaper design can sometimes be challenging due to the number of options you have, but it’s lots of fun nonetheless. If you’re unsure how to make a choice, start by assessing the existing color palette in your room. Consider whether you want to emphasize one of the colors already in the color scheme or freshen up the space by adding something completely new. You can also browse wallpaper designs by style, pattern, color, or room and draw inspiration from there! Some of our all-time favorites are minimalist and retro designs – the classics that never disappoint.
Gather your tools
Luckily, most, if not all, of the tools necessary for this project are already in your home. All you need is a level, squeegee, utility knife, measuring tape, and scissors. For an easier application process, we recommend unrolling the panels and leaving them flat for a few hours.
*Tip – if you don’t have a level, you can download one of the many level apps on your smartphone, and the problem is solved!
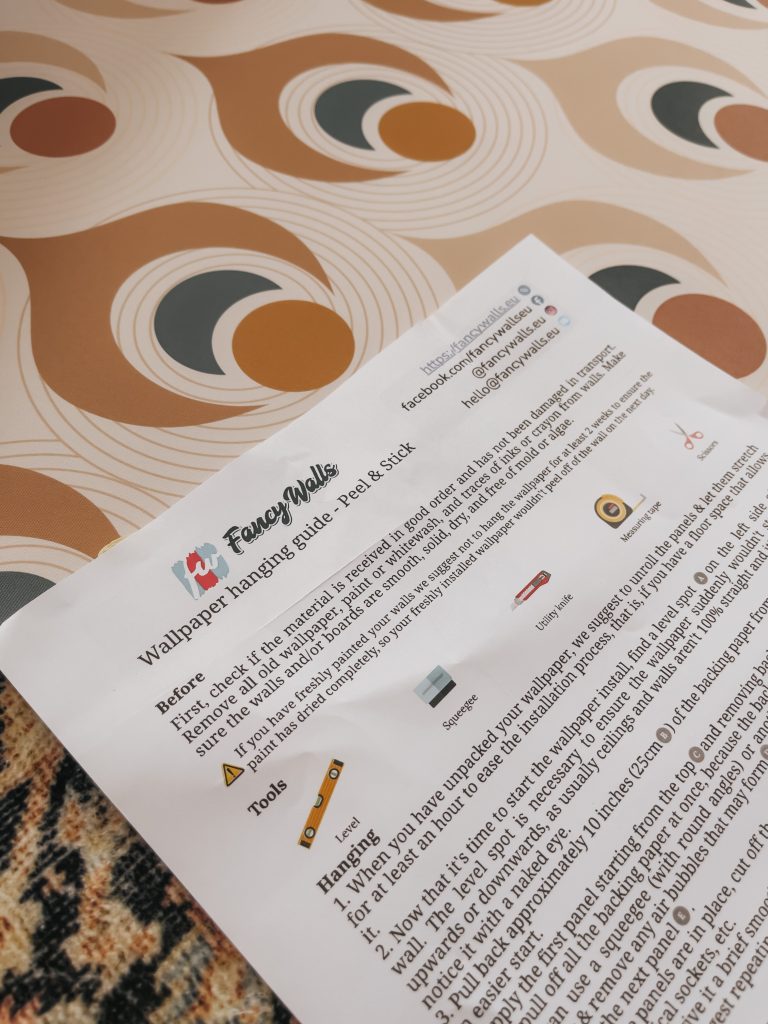
Prepare the wall
Before you start, ensure the wall is nice and clean. Wipe it with a damp cloth to remove dust or any other dirt collected over time. Let it dry, and you’re good to go!
*Tip – if you have recently painted the wall, you should give it at least two weeks to dry before covering it with wallpaper for the best result.
Let’s get to business!
- Start by finding a level spot on your wall using your level tool or app. You always want to make sure that you start applying the wallpaper straight.
- Next, peel the paper off the back of the panel for about 10 inches (20 centimeters). That way, it will be easier to stick the wallpaper on the wall and press out air bubbles as you go.
- Start applying the wallpaper at the top of the wall, slowly smoothing it out with a squeegee or a dry cloth. Once you reach the point where the backing paper covers the back of the panel, remove it again for another 10 inches. Continue until the end of the panel and smooth out any air bubbles.
- Unlike traditional wallpaper, peel and stick wallpaper doesn’t require overlapping. Therefore you should place the next panel right next to the first one, not on it. Repeat the steps mentioned above, and you’re almost there!
- When you’re finished applying the panels, cut off the excess material and smooth out any air bubbles you might have missed before.
- Voilá! You’ve just created your very own accent wall! What a difference such a small change can make, don’t you think?
Need more visual instruction? Check out our peel and stick installation video guide here!
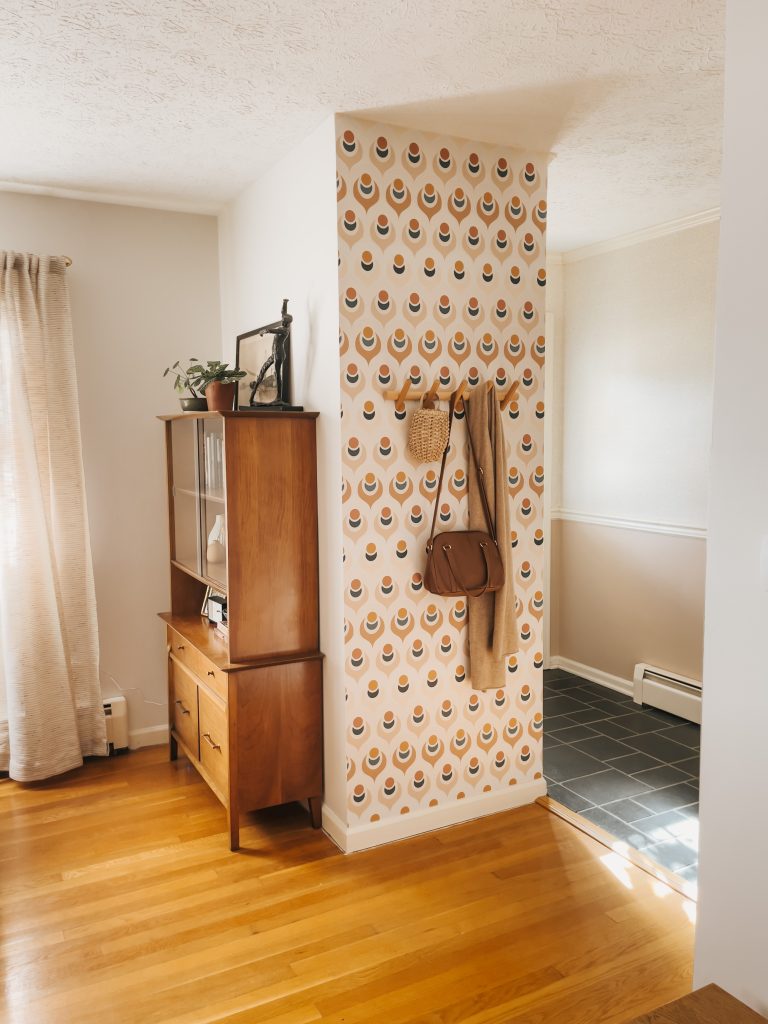
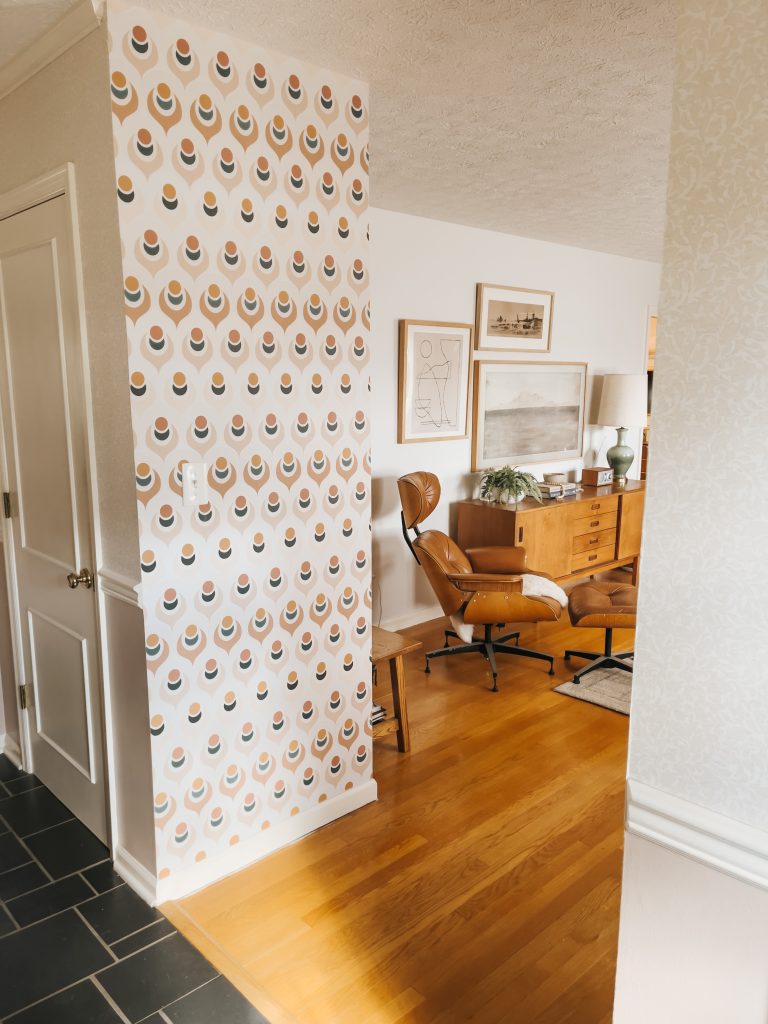
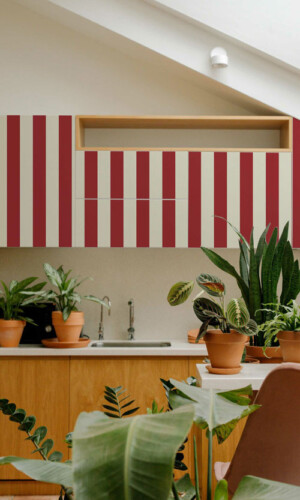
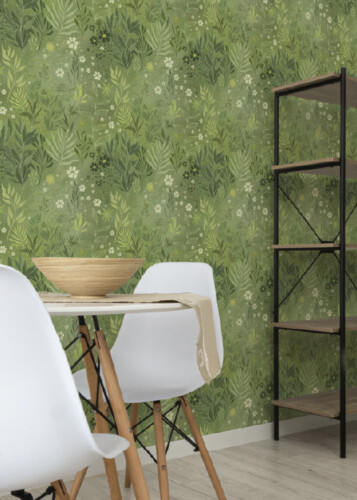
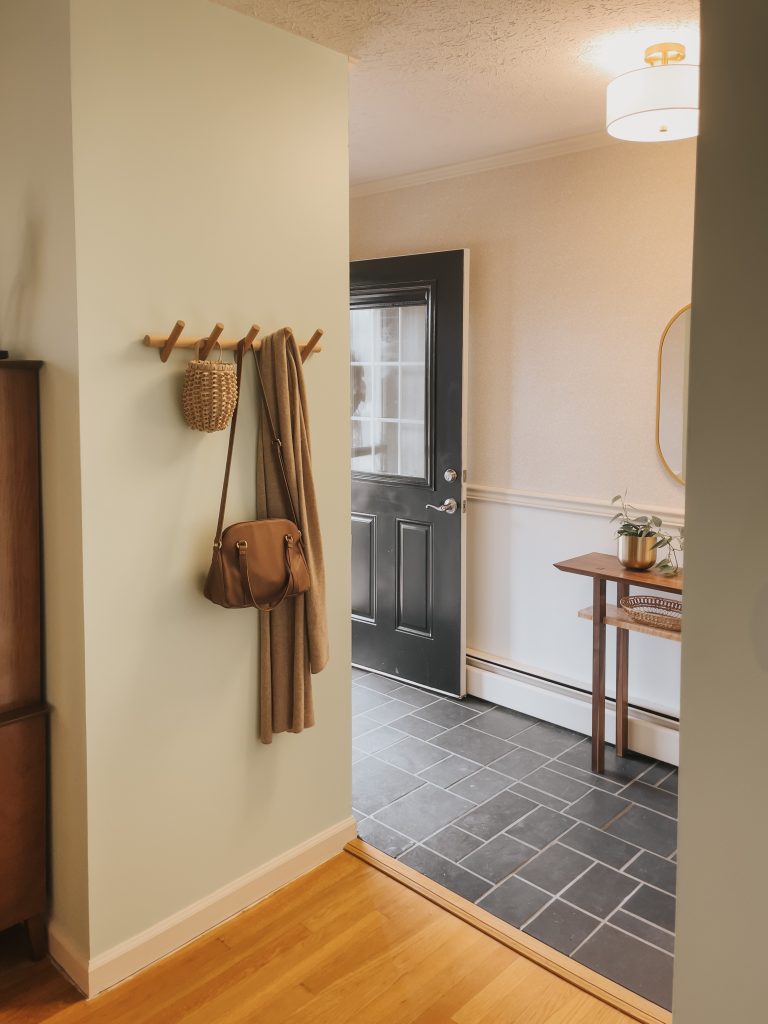
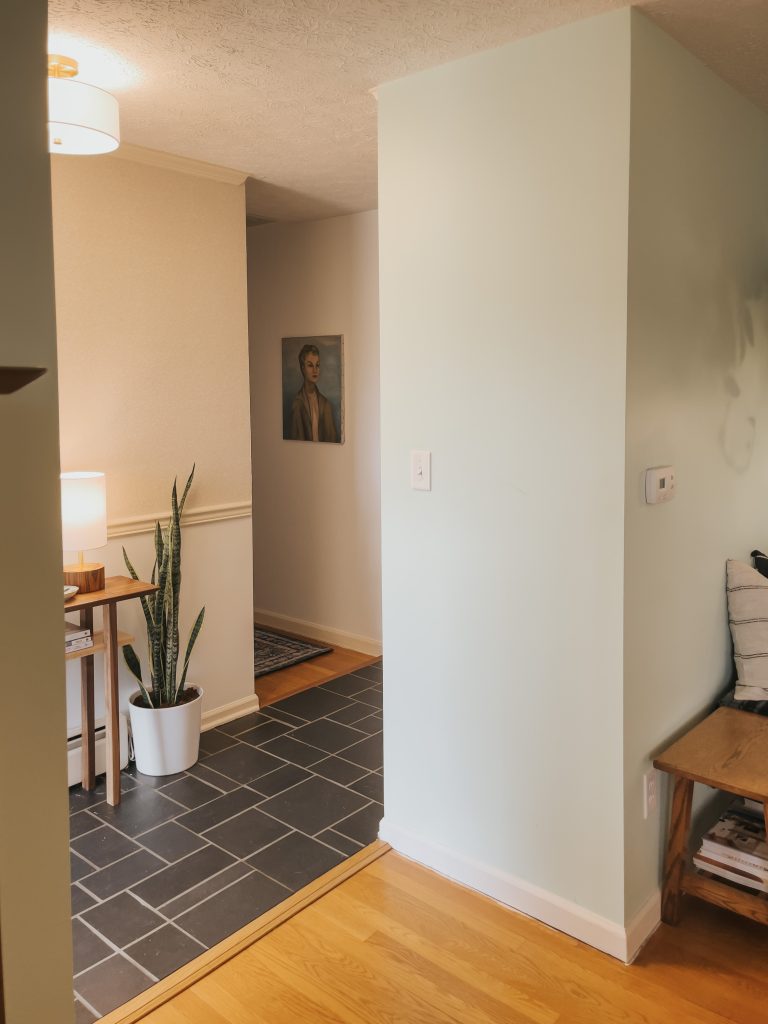
This is just one of the many examples of how effective an accent wall can be. Even though this space looked stunning before, this neutral patterned wallpaper ties every component of this room together perfectly.
This DIY accent wall project will be an excellent addition to your to-do list for cozy autumn days at home that are slowly approaching. We’re already excited, and hopefully, you are too! Let’s say NO to boring walls and YES to fancy walls together!